Workshop2: Using the GL2
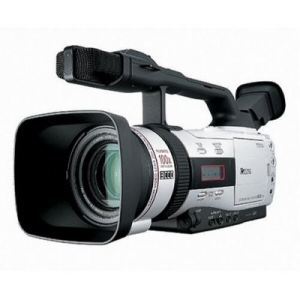
The Canon GL2 is the main video camera avaliable for rent by George Mason University students at the Star Lab. The workshop taught me the basics of setting up and operating the camera.
Set up
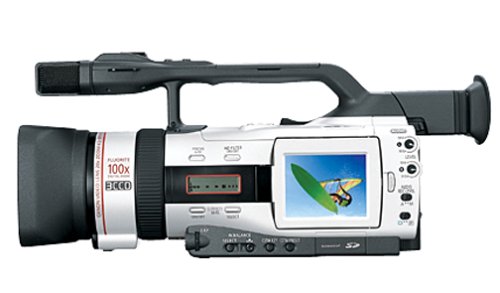
The three main components of the GL2 to set up are the lighting, focus and audio. For the lighting you always have to white balance. This requires holding down the white balance button while shooting a blank, white sheet of paper. The camera will automatically recognize the white of the paper and adjust to this as the standard for what white looks like. In addition you adjust the f-stop to make the image appear brighter or darker.
The focus is pretty basic to set up. There is a dial by the lens of the camera that you can turn either way to adjust the focus. For optimum focus you want to zoom all the way in on the main focus of the shot, focus, then zoom out. This ensures the subject will stay in focus no matter how much you zoom.
For the audio all you have to do is insert either a microphone or lavalier into the input jack and headphones into the output jack. It is important to use headphones so you can make sure you are getting optimum audio. To adjust audio levels, there are two dials on the back of the camera for the left and right audio tracks.
Operating
After setting up, the camera is ready to operate. For this all you have to do is insert a tape into the dock, make sure the “on/off” switch is set to camera, and hit the red record button. To stop recording you simply hit the red button again. To review what you have shot, switch the “on/off” switch to tape and use the provided buttons like a VCR to scroll through the footage.